A roof leak is cheapest on the day you find it. Water that gets past your shingles does not stop at the first layer it reaches. Over one wet Pacific Northwest season it works its way from the underlayment into the roof decking, through the attic insulation, into the drywall ceiling and, if it keeps going, into the rafters and wall framing. The repair to the roof itself is usually a small job. What you pay for by waiting is every layer of the house underneath it.
If you have a stain or a drip right now, the best next step is a proper diagnosis. Our roof leak repair service starts with a free inspection from the attic and the roof, so you know exactly where the water gets in before anyone quotes a repair. If you want to know what the repair itself usually runs, read our breakdown of what roof leak repair costs in the Seattle area. This article is about the other cost: what the leak does to your home while it waits.
Why a Small Leak Never Stays Small
A roof is built in layers, and each one is there to protect the one below it. Shingles shed the bulk of the rain. Underneath them, the underlayment is a second line of defense against water that gets past a lifted tab or a failed seal. Below that is the decking, the sheets of plywood or plank that everything is nailed to. Then comes the attic, with its insulation, rafters and ceiling joists, and finally the drywall ceiling you actually see.
When a leak starts, the first layer has already failed. Every day the leak stays open, water is working on the next one. The trouble is that you only see the last layer. By the time a stain appears on the ceiling, the water has already passed through the underlayment, the decking and the insulation to get there.
That is also why the size of the drip is a poor guide to the size of the problem. Water rarely falls straight down from where it enters. It runs along the underside of the decking, follows a rafter, or pools on top of a vapor barrier before it finds a way down. A single stain the size of a plate can sit at the end of a wet path several feet long.
Stage One: Water Gets Past the Shingles
Every leak begins with one opening. A pipe boot cracks, a nail backs out, the sealant around a skylight dries out, or a strip of flashing pulls away from a wall. At this stage the roof is still mostly doing its job, and the damage is limited to the failed part and a small patch of underlayment around it.
This is the stage you almost never see from inside the house. The underlayment holds some water and slows it down, so the first rains after the failure may leave no mark at all. Homeowners who check their attic now and then sometimes catch it here, as a damp spot on the underside of the roof deck or a faint water line along a rafter.
A repair at this stage is as simple as roof work gets: replace the failed part, replace the shingles around it if they were disturbed, and the water path is closed.
Stage Two: The Decking Starts to Soak
Roof decking is wood, and wood absorbs water. Once the underlayment has been wet for a while, water reaches the plywood or oriented strand board beneath it. The first wet spells leave dark staining on the underside of the deck. Keep them coming, and the layers in the sheathing begin to swell and separate.
Wet decking does not just look bad. It loses its grip on the nails that hold the roof down, and it loses stiffness, so the area around the leak can start to feel soft underfoot. Shingles nailed into softened decking can loosen, which opens more gaps and lets in more water. At this point, the leak has started making itself worse.
Repairing the roof now means more than a new boot or a strip of flashing. The crew has to open the roof around the leak, cut out the damaged decking, install new sheathing and rebuild the layers above it. It is still a routine repair, but it is a bigger one than it needed to be.
Stage Three: The Insulation Stops Working
Most attics are packed with fiberglass batts or loose-fill insulation. Insulation works because it traps still air. Soak it, and the water fills the spaces where that air should be, so a wet patch of insulation does very little to keep heat in the house.
Wet insulation also holds water against everything it touches. It keeps the ceiling drywall below it damp and keeps the framing around it wet long after a rain has passed. Loose-fill insulation compacts when it gets wet and does not fluff back up when it dries, so even after the leak is fixed, that section usually has to be removed and replaced.
You might notice this stage as a room that feels colder than it used to, or a musty smell in an upstairs bedroom or closet. Up in the attic, it shows as flattened, discolored insulation in a patch below the leak.
Stage Four: Drywall, Paint and Ceilings
This is the stage most people notice first, and it is usually well down the path. A yellow or brown ring appears on the ceiling. Paint bubbles or peels. Along an exterior wall, you may see streaking or a stain that follows the corner of the room.
Drywall is gypsum wrapped in paper, and neither half likes water. The paper stains and grows mildew. The gypsum softens and loses strength, and a ceiling panel that has been wet for a while can sag between the joists. If water collects on top of a ceiling, it can bulge before it lets go.
Painting over a ceiling stain is the most common way a leak gets extended. The stain disappears for a few weeks, the leak is still active, and the next wet spell brings the stain back. Meanwhile the water has had that much more time to spread through the layers above.
When a leak has reached this stage, the job has two halves: the roof repair that stops the water, and the interior work to replace or patch the damaged drywall, retexture and repaint once everything has dried out.
Stage Five: Rafters, Joists and Wall Framing
The last stage is the one nobody wants to reach. When wood framing stays wet week after week, it softens and eventually rots. The rafters under a long-running leak, the ceiling joists below it and the top plates of the walls it runs into can all be affected.
Rotted framing is a structural issue. A rafter that has lost strength can sag, a top plate that has rotted can no longer carry its load properly, and the fasteners holding everything together lose their bite. Repairing it means opening up the affected area, sistering or replacing damaged members and making sure everything above is properly supported before the roof and ceiling are closed up again.
Wet framing also invites other problems. Damp, dark wood is exactly what mold and wood-boring insects look for, and a long-running leak can give them a foothold that lasts long after the water stops.
Why Seattle Makes Waiting More Expensive
In a place with short, heavy downpours and long dry spells, a leak gets wet and then has time to dry out. That does not happen here. From fall through spring, Seattle’s rain is steady more than it is dramatic, and roofs can stay wet for weeks at a stretch.
That matters because damage in each stage above depends on how long materials stay wet, not only on how much water gets in. A slow leak that never dries out through a whole wet season does more harm than a faster one that dries between rains. A leak that starts in October has the whole wet season to work on your home before summer finally dries things out.
Tree cover adds to it. Many Seattle-area homes sit under big firs and cedars, and shaded roofs dry slowly. Needles and moss collect in valleys and along the uphill side of chimneys and skylights, holding water right where roofs are most likely to leak.
Freeze-thaw cycles add one more push. On colder nights, water that has seeped into a crack in sealant or a gap in flashing freezes and expands, and by spring a small opening can be noticeably wider than it was in fall.
The Costs That Never Show Up on a Roofing Invoice
Some of what a leak costs you never appears on a contractor’s quote.
Heating. Wet insulation lets heat escape through the ceiling, so the rooms under a leak cost more to keep warm all winter.
Indoor air. A damp attic and damp drywall are a natural home for mold and mildew. Even when the growth is hidden above a ceiling, the musty smell makes its way into the living space.
Pests. Softened wood and wet insulation attract insects and give rodents an easier path in. Once they are in, they are their own project.
Your time and your rooms. Buckets, towels, moved furniture, a room you stop using, and then the days of interior repair work once the roof is fixed. None of that is on an invoice, and all of it gets longer the longer a leak runs.
Your options. A leak caught early usually leaves you free to choose between a repair now and a planned replacement later. A leak left alone can take that choice away, because extensive decking and framing damage may have to be dealt with right away.
Signs the Leak Has Already Moved Past the Roof
If you are not sure how far a leak has gone, these are the signs that the water has reached the layers below the shingles:
- Dark staining or damp spots on the underside of the roof deck when you look up from the attic
- Rusty nail tips poking through the decking in the attic, or drips forming on them in cold weather
- Flattened, discolored or damp insulation in one area
- A musty smell in the attic or an upstairs room
- A ceiling stain that has grown, darkened or come back after painting
- Bubbling paint, sagging drywall or a soft spot in the ceiling
- A section of roof that feels soft or spongy when a roofer walks it
Any one of these means the leak is past stage one, and the sooner it is closed the less there is to rebuild.
What to Do This Week
You do not need to solve the leak yourself, but a few steps right away limit the damage and make the repair go faster.
- Protect the inside. Move furniture and belongings, set a bucket or tub under any drip and lay down towels. If water is collecting above a ceiling, keep people and valuables out from under it.
- Take photos. Photograph the stain, any drips and the attic if you can get up there safely. Photos taken over a few days also show whether the stain is spreading.
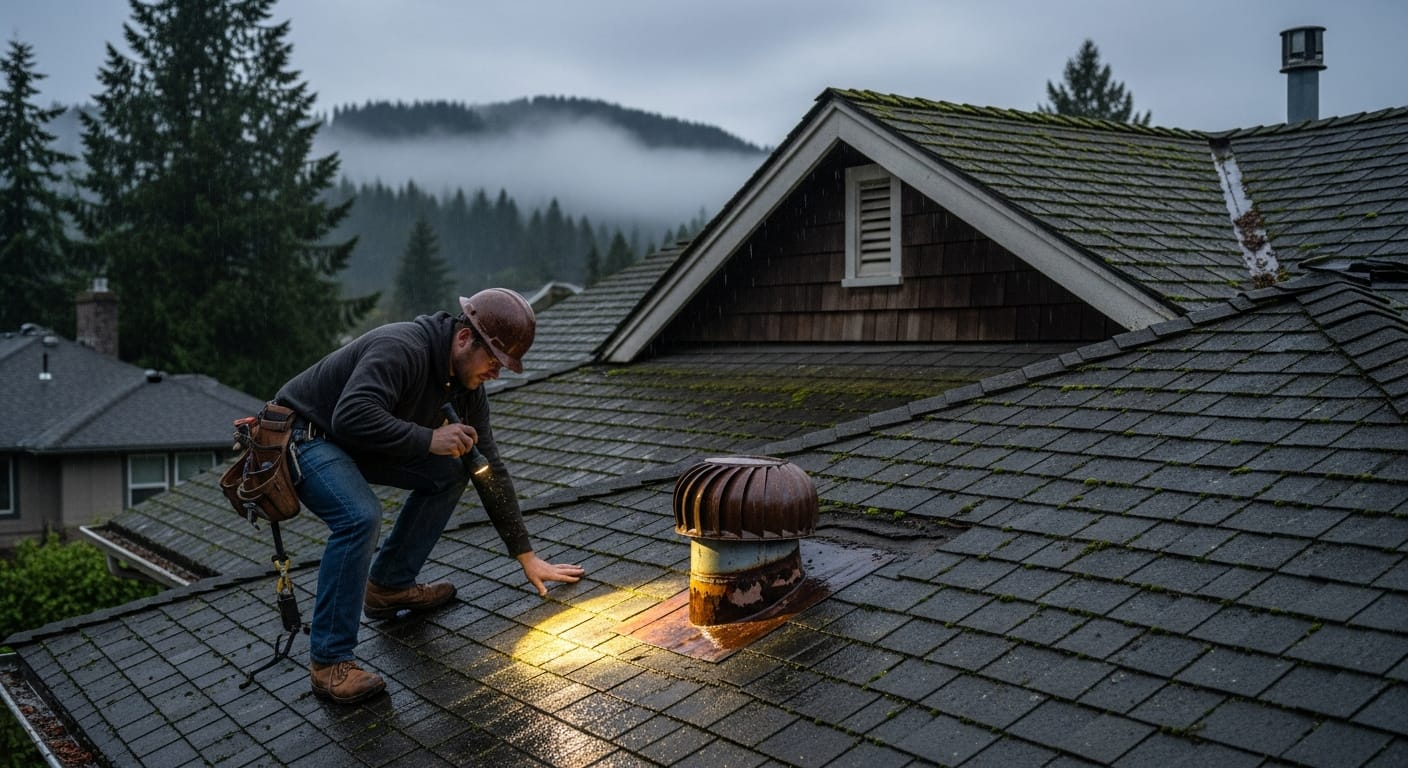
- Look in the attic. With a good flashlight, look for the wet area on the underside of the roof deck and follow any water trail uphill. Our guide on how to find a roof leak walks through what to look for.
- Stay off the roof. Wet roofs are slippery, and the spot you see from inside is rarely the spot where the water gets in.
- Call a roofer. A roofer who inspects from the attic and the roof can trace the leak to its source and quote a repair in writing.
Repair Now, or Wait for a Replacement?
A lot of homeowners hold off on a leak because they already know the roof is getting old and they plan to replace it in a year or two. That can make sense in principle, but a leak left open while you wait keeps doing the damage described above. The decking and framing you let rot will have to be replaced during the new roof anyway, and it is usually more involved once it has had a season or two to soften.
In most cases a targeted repair now, followed by a planned replacement when you are ready, costs you less in total than letting a leak run. Our roof repair team will tell you honestly whether a repair will hold until you replace the roof, or whether the roof has reached the point where repairs no longer make sense.
The Bottom Line
The roof repair that stops a leak is usually small. What turns a leak into an expensive project is time: time for water to move from the underlayment into the decking, then the insulation, the ceiling and the framing. In Seattle’s long wet season, that time comes quickly.
If you have a stain, a drip or a musty smell you cannot explain, get the source found now. Schedule a free inspection through our roof leak repair page or call (206) 659-4349. We will show you where the water is getting in, how far it has gone, and what it will take to close it, in writing, before any work starts.