To find a roof leak, start inside your attic with a flashlight and look for water stains, damp insulation, or daylight coming through the roof deck. Follow the water trail uphill from where you see moisture, because water often enters the roof 10 to 15 feet away from where the drip appears on your ceiling. The most common leak sources are damaged flashing, cracked pipe boots, worn shingles in valleys, and failed seals around chimneys and skylights.
This guide walks through how to systematically find a leak source, common causes specific to Seattle homes, and when to call a professional instead.
Signs You Have a Roof Leak
Sometimes the leak is obvious (an active drip during rain). Other times the signs are subtle.
Visible interior signs:
- Water stains on ceilings or walls (brown, yellow, or ring-shaped marks)
- Active dripping during or after rain
- Peeling paint or bubbling wallpaper near the ceiling
- Sagging drywall or ceiling tiles
- Water in light fixtures (turn off power immediately if this happens)
Hidden interior signs:
- Damp or musty smell in upper rooms or attic
- Mold or mildew growth
- Wet insulation (visible from the attic)
- Higher than expected humidity in interior spaces
- Increased energy bills (HVAC working harder against moisture)
Exterior signs:
- Missing, cracked, or curled shingles
- Lifted or rusted flashing
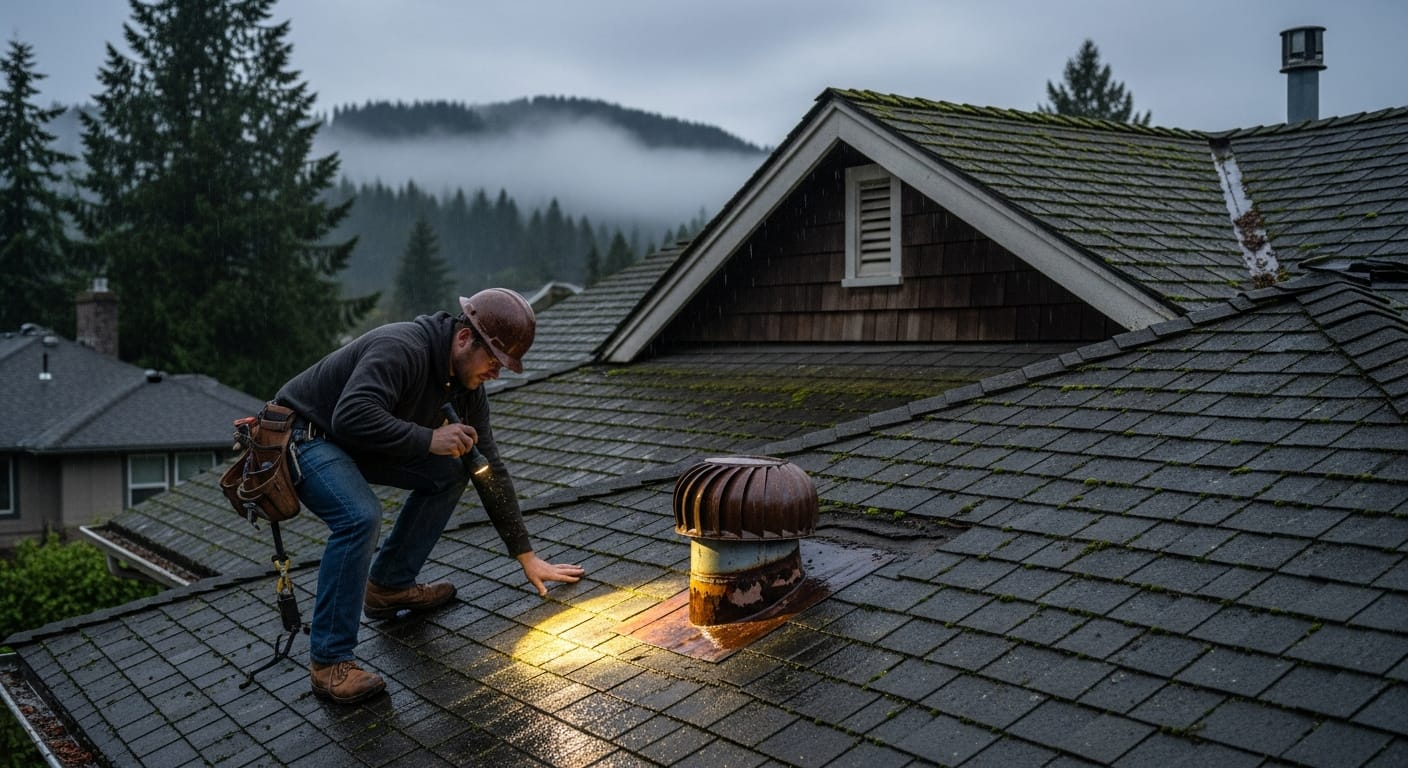
- Damaged or cracked pipe vent boots
- Granule loss visible in gutters
- Moss accumulation, especially in shaded areas
- Daylight visible through the roof from inside the attic
When you spot any of these signs, time matters. Water damage compounds quickly. Mold growth begins within 24 to 48 hours of sustained moisture.
How to Find a Leak From Inside the Attic
The attic is where leak hunting starts.
Best timing: During or right after a rainstorm. Active or recent rain produces visible water trails that are obvious. Trying to find a leak source on a dry day is much harder.
What you need: A bright flashlight (a 1,000+ lumen tactical flashlight is ideal), a notepad and pencil, your phone for photos, and old clothes that can get dirty.
Step-by-step:
-
Enter the attic safely. Most attics in Seattle homes have a hatch or pull-down ladder. Use proper footing on the joists, never on insulation or drywall ceiling.
-
Scan the entire attic ceiling. Move slowly and shine the flashlight across all surfaces. Look for wet spots, dark stains, and areas where the wood color changes.
-
Check around all penetrations. Plumbing vents, exhaust fans, attic ventilation, chimneys, and skylights are leak hotspots. Examine each carefully.
-
Look for daylight. Even pinholes of light coming through the roof deck indicate failure. In a darkened attic, daylight is unmistakable.
-
Follow water trails uphill. When you find moisture, trace it backward to the highest point. Water enters the roof and runs downhill before dripping. The actual entry point is always above the visible moisture.
-
Mark the entry point. Use chalk, tape, or a piece of bright paper to mark the spot. This makes finding it from outside (or telling your roofer where to look) much easier.
-
Document with photos. Take pictures of every wet area, every stain, and every suspected entry point. Insurance claims and contractor inspections rely on this documentation.
If you cannot access the attic (finished ceiling, no hatch, vaulted construction), skip to the exterior inspection.
Common Roof Leak Sources
These are the leak sources we see most often in Seattle homes.
Flashing Failures
Flashing is the metal that seals roof penetrations and transitions. It is the #1 source of roof leaks in homes over 10 years old. Common failure points:
- Around chimneys (multiple flashing pieces, complex geometry)
- Around skylights (factory flashing kits often fail at corners)
- Where roof meets vertical walls (step flashing)
- In valleys (the channels where two roof slopes meet)
- At eaves and rakes (drip edge flashing)
Flashing failures show up as rusty metal, lifted edges, gaps between metal and roofing material, or visible separations.
Cracked Pipe Boots
Plumbing vents pass through your roof, and a rubber gasket (the “boot”) seals around them. Standard rubber boots last 10 to 15 years before UV exposure causes cracks. The crack lets water enter directly around the pipe.
Pipe boot leaks are extremely consistent. If you have a cracked boot, it leaks every significant rain. The leak appears in a specific spot below the affected pipe.
Worn or Missing Shingles
Wind, impact damage, age, and moss growth all damage shingles. A missing shingle creates a hole. A cracked shingle channels water under itself. A curled shingle lifts and exposes the underlayment.
Shingle damage is usually visible from the ground with binoculars or from a ladder at the gutter line. You don’t need to climb on the roof to spot it.
Valley Issues
Roof valleys handle the most water of any part of the roof. Worn shingles in valleys, debris-blocked valleys, and improperly installed valleys are common leak sources. Look for water staining, debris accumulation, and bare spots in valley areas.
Chimney Leaks
Chimneys are the most leak-prone feature on most roofs. Multiple failure points include the chimney cap, the crown (top concrete), the flashing where the chimney meets the roof, the counter-flashing tucked into mortar joints, and the mortar joints themselves.
Chimney leaks are notoriously difficult to diagnose because so many things can fail. They almost always require professional inspection.
Nail Pops
Roofing nails sometimes back out over time, especially in older roofs. The exposed nail head and the small hole around it allow water entry. Nail pops are common on roofs over 12 years old and are often visible as small discolored spots in the attic below.
Ice Dam Damage (Rare)
Seattle gets occasional cold snaps that produce ice dams (ice buildup at the eaves that prevents water from draining). When ice dams form, water backs up under the shingles and enters the roof. Damage from ice dams typically appears at the eaves and may show up weeks after the cold weather ends.
Why the Leak Is Not Where You Think It Is
This is the most important concept in roof leak diagnosis. Water enters the roof at one point but travels along rafters, sheathing, and insulation before it drips onto your ceiling.
A drip in your living room ceiling can originate 10 to 15 feet away on the actual roof surface. Water finds the path of least resistance. It follows roof slopes, runs along framing members, and eventually drips at low points or weak spots in the ceiling drywall.
This is why DIY leak repairs often fail. The homeowner sees a drip in one spot, assumes the leak is directly above, and seals that spot. The actual entry point is 12 feet upslope, still leaking, just into a slightly different drip location now.
Professional roofers know this and trace systematically from the visible moisture back to the actual entry point. The repair has to address the source, not just the symptom.
The Garden Hose Test
When you cannot find the leak source by visual inspection, the garden hose test is the next step.
Setup:
- Have a helper inside the attic with a flashlight
- Use a garden hose with a normal flow nozzle
- Choose a dry day with safe roof access conditions (single-story, low pitch only)
Process:
- Start running water at the lowest point of the suspected area
- Soak one section for 5 to 10 minutes
- Listen for your helper to call out when they see water enter
- Move slowly upslope, soaking each section in turn
- When water appears inside, you have found the entry zone
Important caveats:
- This works on simple, accessible roofs
- It does NOT work safely on steep, mossy, or multi-story roofs
- A failed test (no leak found) does not prove the roof is sound. Some leaks only appear under specific conditions (wind-driven rain, prolonged saturation)
- The test takes patience. Plan for 30 to 60 minutes of methodical work.
- This is one situation where calling a professional is often the better call. They have the experience to find the source faster.
PNW-Specific Leak Causes
Seattle’s climate creates leak patterns and misdiagnoses that don’t appear in national guides.
Condensation vs Actual Leaks
This is the most commonly missed distinction in PNW roof diagnosis. Seattle’s humid winters produce condensation in poorly ventilated attics, and the resulting moisture looks identical to a roof leak.
Key differences:
- Leak: localized, recurring at the same spot, follows rain events
- Condensation: widespread, evenly distributed across the attic, occurs during cold weather even without rain
The fix is also different. A leak requires roof repair. Condensation requires improved ventilation. Misdiagnosing condensation as a leak leads to expensive roof repairs that don’t solve the problem.
If you have widespread moisture across the entire attic with no specific entry point, your problem is likely ventilation, not roofing. See our roof ventilation guide for Pacific Northwest homes for the full diagnosis and fix process.
Moss Damage
Moss is universal in Seattle. Roots lift shingle edges, creating channels for water. Moss damage is distinct from typical wear because it affects shingles that look intact but no longer seal properly. Roofs with significant moss often develop multiple small leaks that are hard to trace individually.
Prolonged Saturation Effects
In drier climates, roofs experience occasional rain events with long dry periods between. Materials dry out, surfaces release moisture, vulnerabilities don’t have time to fail.
In Seattle, sustained saturation for weeks at a time exposes every weakness. A pinhole crack that wouldn’t leak in Phoenix leaks consistently in Seattle. Materials never fully dry. Small problems escalate quickly.
Wind-Driven Rain
Pacific storms frequently push rain sideways at velocities that defeat normal roof construction assumptions. A roof can be perfectly weather-tight in vertical rain but leak during wind-driven rain on the windward side. If your leak only appears during certain storms, wind direction is likely the variable.
Cedar Shake Specifics
If your home has cedar shake roofing, common leak sources are different:
- Split or cracked shakes (visible from the ground with binoculars)
- Cupped or warped shakes that no longer seal
- Moss growth between shakes
- Failed underlayment beneath aging shakes
Cedar shake roofs in Seattle typically need professional inspection by someone experienced with the material.
Professional Leak Detection Methods
When DIY methods fail, professional detection uses tools homeowners cannot match.
Visual inspection by experienced roofers. A professional who inspects 50+ Seattle roofs per year develops pattern recognition for leak sources. They know where to look first, what failures look like, and how the source relates to the symptom.
Infrared thermal imaging. Cameras detect temperature differences caused by moisture in walls, ceilings, and roof decks. A trained operator can identify wet areas that are not visible to the eye.
Electronic moisture meters. Pin and pinless meters measure moisture content in wood, drywall, and insulation. They quantify how wet a material actually is, helping distinguish active leaks from old water damage.
Controlled water testing. A more systematic version of the garden hose test, performed safely with proper equipment and trained eyes inside.
Smoke testing for flat roofs. Smoke generators help identify air pathways that water can follow. Useful for tricky flat roof leaks.
The combination of methods finds leaks that homeowners cannot. Professional leak detection in Seattle costs $200 to $500 standalone, often included free when paired with a repair estimate.
What to Do After You Find the Leak
Documentation and timing matter.
Document everything. Photos and video of the entry point, the interior damage, and the trail in between. Insurance claims require this. Contractor estimates rely on it. Future you will appreciate the records.
Contain active drips. Buckets under any active leaks. Move valuables out of the area.
Schedule repair promptly. Mold grows in 24 to 48 hours. Continued saturation damages framing, drywall, and insulation. The cost of waiting compounds quickly.
Get a written estimate. A reputable contractor provides scope and cost in writing before authorizing work. K Single Corp provides free written estimates for repair work across the Seattle area.
Don’t forget the source. A repair that fixes the symptom but misses the source means another leak is coming. Confirm with your contractor that the actual entry point has been identified and addressed.
Roof Leak Investigation Checklist
Get a Professional Leak Inspection
If you cannot find the source of your leak, the source is unclear, or the leak is in a location that requires roof access, K Single Corp provides professional leak detection across King, Snohomish, and Pierce counties. We pair leak detection with a written repair estimate at no charge to qualified projects.
Schedule your inspection or call (206) 659-4349.
For more on related topics, see our roof repair service page, our companion guides on DIY roof repair vs hiring a professional, emergency roof repair, and roof inspection what to expect, and our roof ventilation guide for diagnosing condensation versus actual leaks.