Installing a metal roof on a Seattle home typically takes 3 to 7 days and involves deck preparation, underlayment installation, custom panel forming, and precise fastening. Most homeowners choose between a full tear-off (removing the old roof first) or an overlay (installing metal over existing shingles). The process requires specialized equipment and trained installers, making professional installation essential for both performance and warranty coverage.
Here is a complete walkthrough of what to expect before, during, and after your metal roof installation.
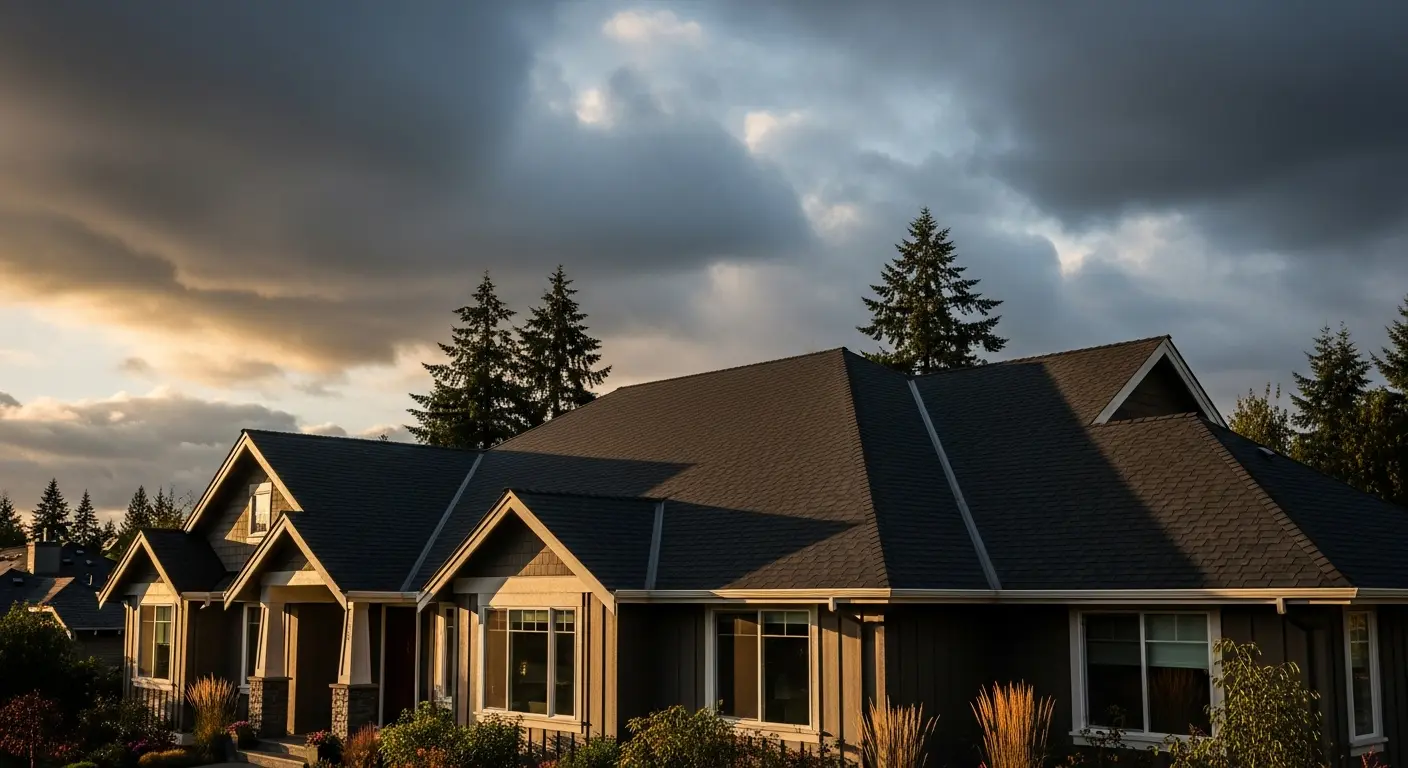
Metal vs Shingle: Full Comparison
Choosing Your Metal Roofing System
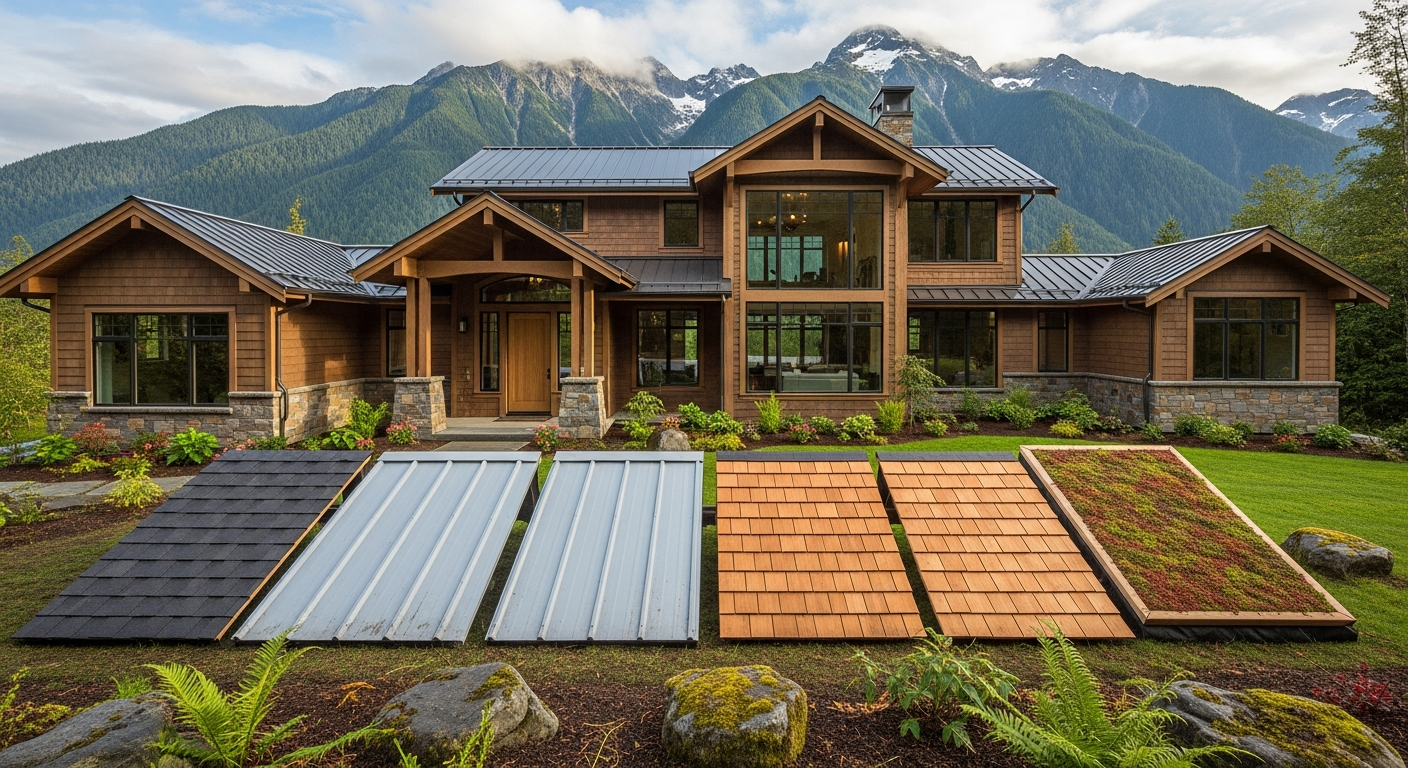
Before installation begins, you need to select the type of metal roofing system. Each has different installation requirements, costs, and aesthetics.
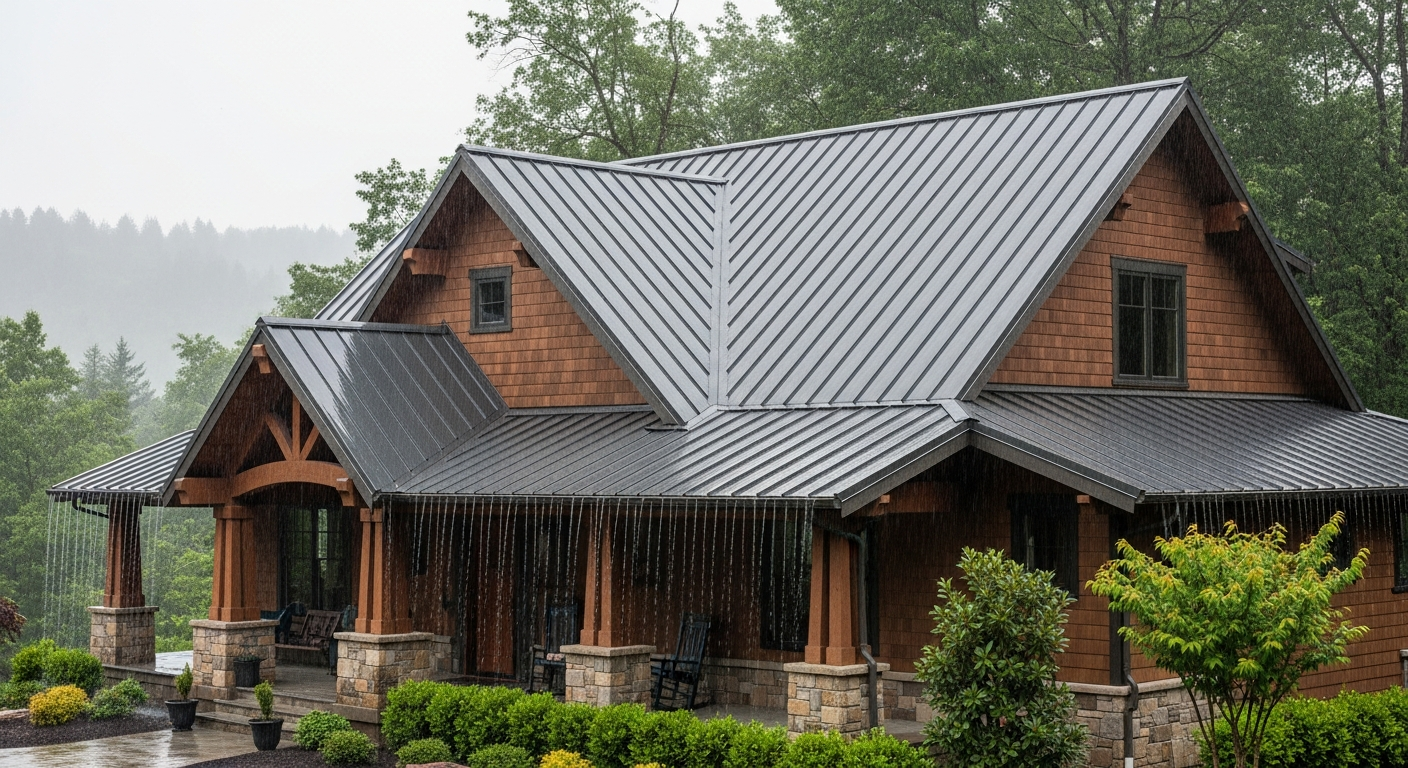
Standing Seam
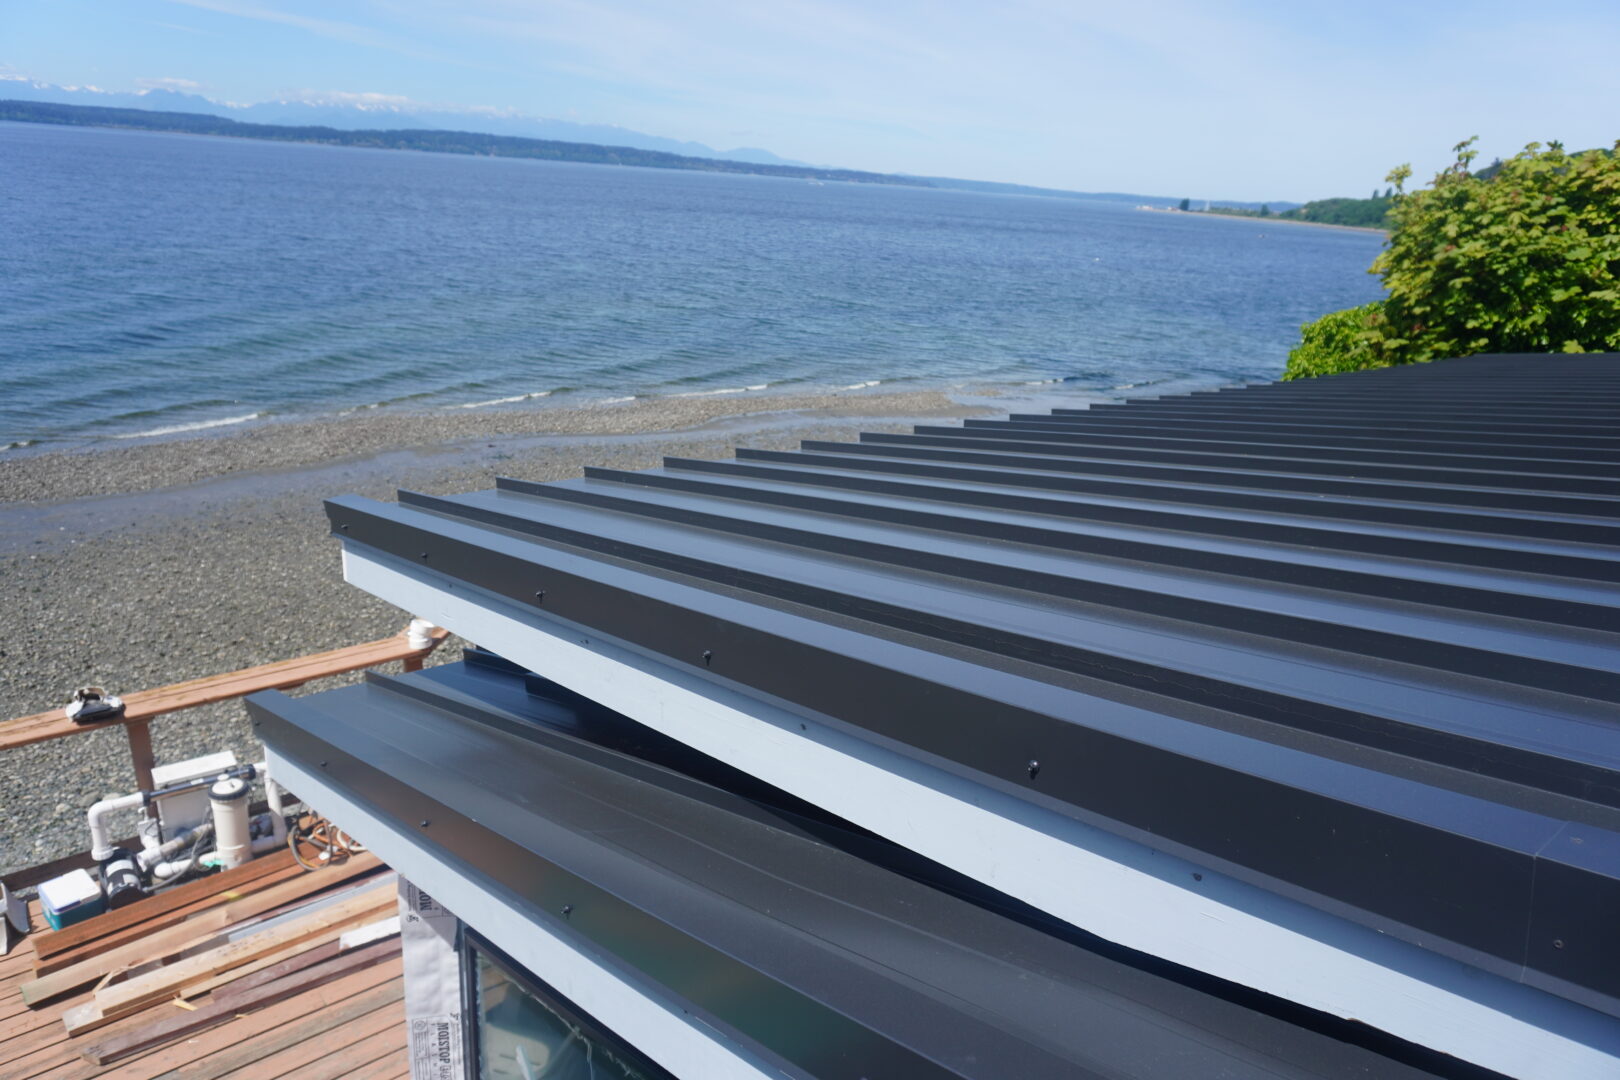
Standing seam is the premium metal roofing option. Long vertical panels run from the ridge to the eave with raised seams that lock together. Fasteners are concealed beneath the seam, eliminating exposed screws that can leak over time.
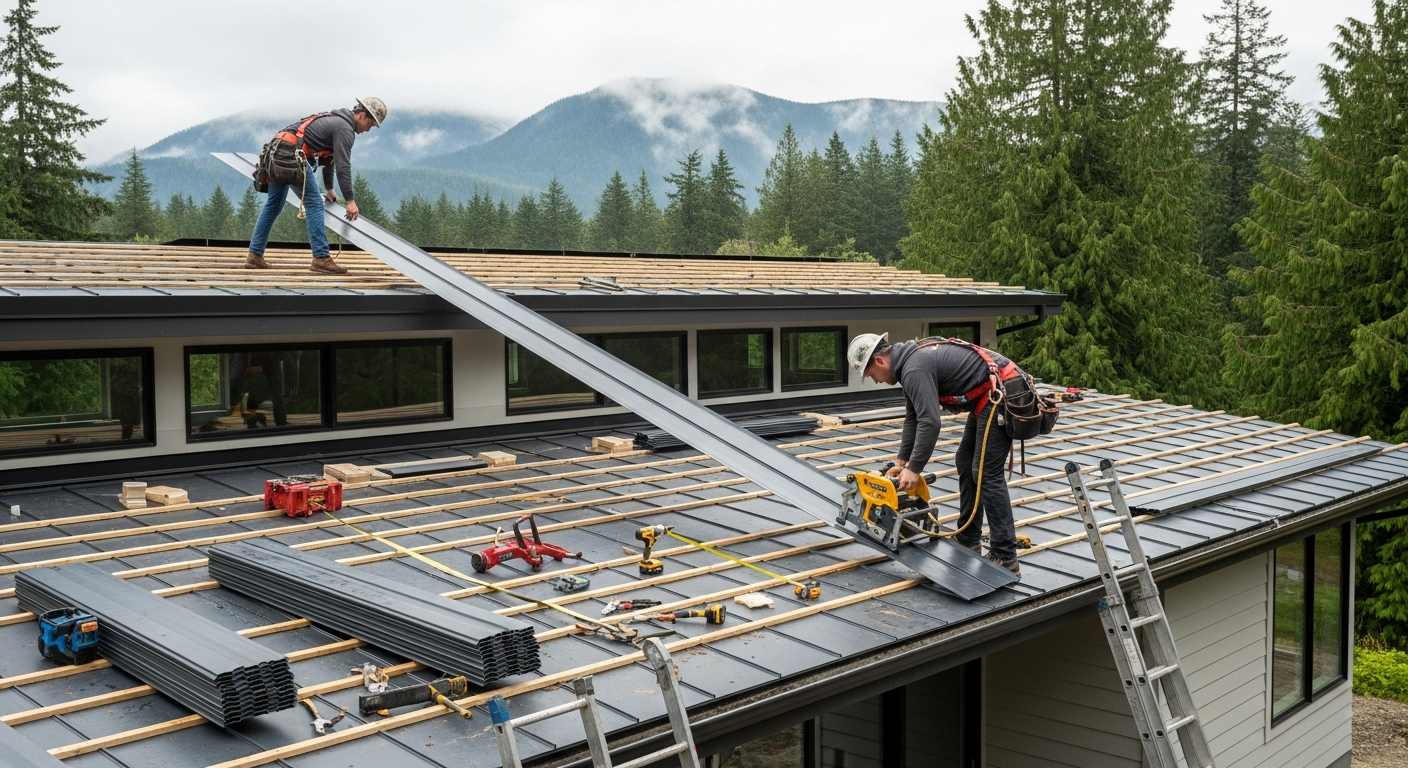
Standing seam panels are custom-formed on site using a portable roll-forming machine that produces panels to the exact length of your roof. This eliminates horizontal seams and reduces potential leak points.
Metal Shingles
Metal shingle panels are designed to look like traditional shingles, slate, or cedar shake. They install differently from standing seam, using interlocking panels that create a layered appearance. Metal shingles are a good choice for homeowners who want metal performance with a more traditional look.
Exposed Fastener Panels
Exposed fastener (screw-through) metal panels are the most affordable metal option and are common on commercial buildings, barns, and utility structures. They are less common on residential homes because the exposed screws require periodic maintenance and are more prone to leaks over time.
Tear-Off vs. Overlay: Which Is Better?
One of the biggest decisions is whether to remove the existing roof or install metal over the top.
Full Tear-Off (Recommended)
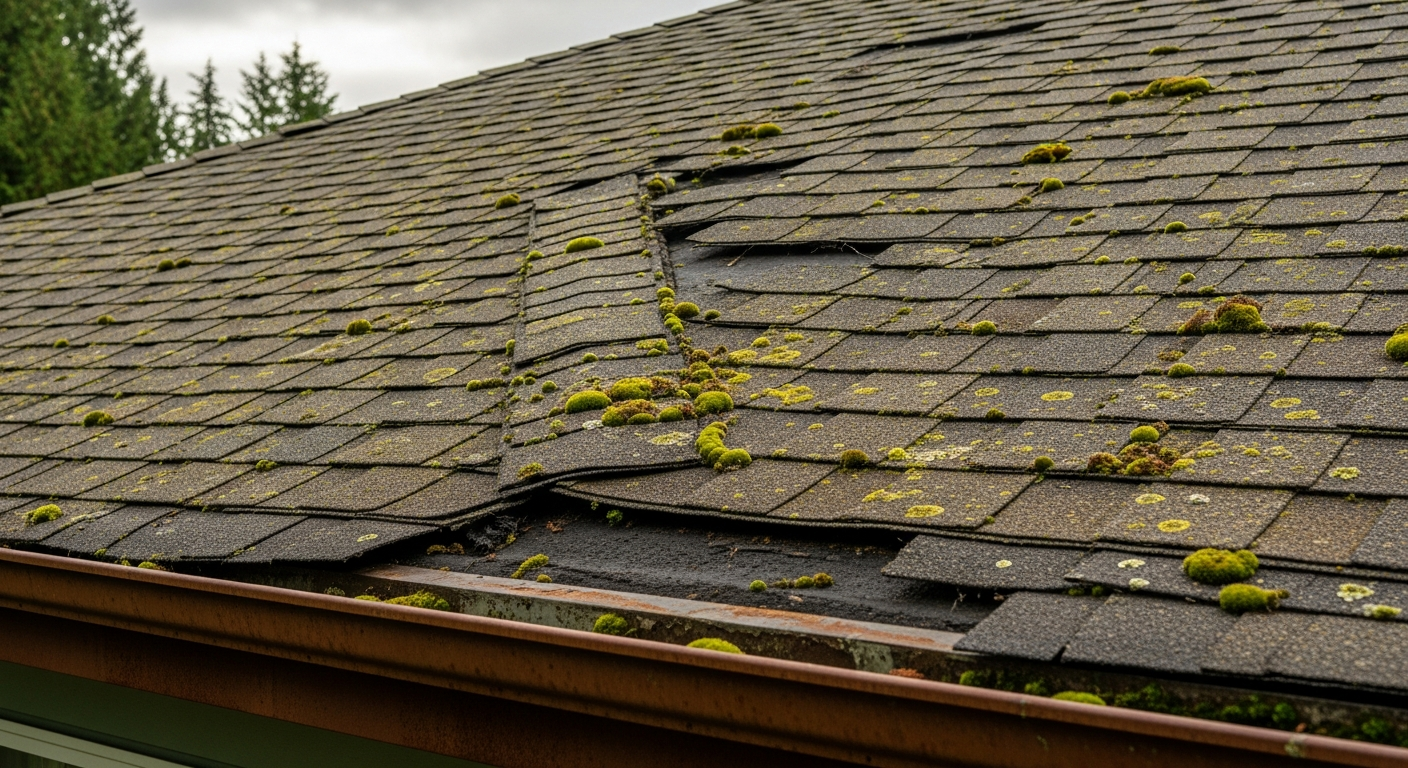
A full tear-off means removing all existing roofing material down to the plywood decking. This allows your contractor to inspect the deck for rot, water damage, and structural issues before installing the new metal roof.
Advantages:
- Full deck inspection reveals hidden damage
- Flattest possible surface for metal panel installation
- No trapped moisture between layers
- Meets all building codes without question
- Lightest possible roof weight
Cost: Adds $1,000 to $3,000 for tear-off labor and disposal.
Overlay (Metal Over Shingles)
An overlay installs the metal roofing system directly over one existing layer of shingles, using furring strips or battens to create an air gap and a flat nailing surface.
Advantages:
- Saves $1,000 to $3,000 in tear-off costs
- Faster installation (skip tear-off day)
- Less disruption and debris
Disadvantages:
- Cannot inspect the deck for hidden damage
- Trapped moisture between layers can cause problems
- Adds weight to the roof structure
- Some building departments require tear-off
In the Pacific Northwest, we typically recommend full tear-off for residential projects. Seattle’s wet climate makes hidden moisture damage more common, and a deck inspection provides peace of mind that your investment has a solid foundation.
The Installation Process: Step by Step
Here is what happens during a typical residential metal roof installation in the Seattle area.
Day 1: Preparation and Tear-Off
The crew arrives early (typically 7 AM) and begins by protecting your property. Tarps go over landscaping, fences, and walkways. Dumpsters or trailers are positioned for debris.
If doing a tear-off, the crew removes all existing roofing material, flashing, and pipe boots down to bare plywood. The decking is inspected for rot and structural integrity. Any damaged sheets are replaced with new plywood.
Day 2: Underlayment and Prep
Synthetic underlayment is rolled across the entire deck, creating a secondary water barrier. Ice and water shield goes in critical areas: valleys, eaves, around skylights, and at all penetrations.
Drip edge is installed along the eaves and rakes. This metal trim directs water away from the fascia and into the gutters.
For standing seam installations, the portable roll-forming machine is set up and panels are formed to the exact dimensions of each roof section.
Days 3-5: Panel Installation
Metal panels are installed from the eave to the ridge, working from one side of the roof to the other. Each panel locks into the previous one at the seam.
Standing seam process:
- The first panel is positioned and fastened with clips along the panel edge
- The next panel is placed so its seam engages the previous panel’s seam
- A mechanical or hand seamer crimps the seams together for a watertight lock
- The process continues across the roof
- Ridge cap, hip cap, and trim pieces are fabricated and installed last
The speed varies by roof complexity. A simple gable roof moves quickly. A hip roof with dormers, valleys, and skylights requires more custom cutting and flashing work.
Days 5-7: Flashing, Trim, and Details
The final stages focus on waterproofing details that make or break long-term performance.
- Custom flashing around chimneys, skylights, and walls
- Pipe boot installation at plumbing vents
- Valley flashing (W-style or open valley, depending on the system)
- Ridge cap installation
- Gable trim and drip edge finishing
- Sealant application at all penetrations and transitions
Final: Cleanup and Walkthrough
After installation is complete, the crew does a thorough cleanup. All debris is removed, a magnetic nail sweep covers the yard and driveway, and tarps are pulled. Your project manager does a final walkthrough with you to inspect the finished roof and explain maintenance recommendations.
Permits and Inspections
Metal roof installation requires a building permit in Seattle and nearly all King County jurisdictions. The permit process ensures code compliance for structural load, fire rating, and wind resistance.
Your contractor should handle the entire permit process, including the application, fees, and scheduling inspections. Typical permit costs for a residential roof in King County run $200 to $600.
How to Prepare Your Home
You can help the installation go smoothly with some simple preparation.
Before the crew arrives:
- Move vehicles out of the driveway and away from the house
- Remove patio furniture, grills, and decorations from around the home’s perimeter
- Trim back branches that hang over the roof (or ask your contractor to include this)
- Take down or secure wall decorations inside, especially on upper floors (vibrations from installation can shake things loose)
- Let your neighbors know about the project timeline and expected noise
- Make sure pets have a safe, quiet space away from the work area
During installation:
- Expect noise and vibration, especially during tear-off and panel fastening
- Crews typically work 7 AM to 5 PM
- Stay off the work area for safety
- Your project manager is your point of contact for questions and updates
Timeline and Scheduling
Metal roof installation in Seattle is best scheduled during the dry season (May through September). This ensures uninterrupted work and proper sealant curing.
Factors that extend the timeline:
- Complex roof geometry (hip roofs, dormers, multiple valleys)
- Large roof area (over 3,000 sq ft)
- Extensive deck repairs discovered during tear-off
- Rain delays (if scheduled outside the dry season)
- Custom color or panel profiles with longer lead times
Book your installation 4 to 8 weeks in advance during peak season (June through August). Early spring and fall bookings typically have more scheduling flexibility.
After Installation: Maintenance and Care
One of metal roofing’s biggest advantages is minimal maintenance. But “minimal” does not mean “zero.” Here is what to do to maximize your roof’s lifespan.
Annual inspection. Check for loose trim, sealant cracks around penetrations, and debris in valleys. A professional inspection every 1 to 2 years is ideal.
Gutter cleaning. Twice per year (spring and fall). Metal roofs shed debris efficiently, but leaves and needles still accumulate in gutters.
Snow and ice. Metal’s smooth surface sheds snow effectively, but snow guards may be needed over walkways and entries to prevent sudden snow slides.
Touch-up. If the finish is scratched during installation or by fallen debris, touch-up paint from the manufacturer prevents corrosion at the scratch point.
Ready to Explore Metal Roofing?
K Single Corp installs standing seam and metal shingle roofing systems across the greater Seattle area. We will help you choose the right system for your home, provide a detailed estimate, and handle every step from permits to final walkthrough. Contact us for a free metal roofing consultation or call (206) 659-4349.
For cost comparisons, see our metal roofing vs. asphalt shingles guide or visit our metal roofing overview.